调试IoTSharp
本教程使用rabbit_mongo_influx 方式进行源码运行
注意
编译运行要在docker运行的基础上进行,因为需要使用rabbitmq、mongo、influxdb等应用; 要先停止容器中的iotsharp,建议直接使用VS打开解决方案, 设置docker-compose 为启动项。这样Vs会自动启动相应的容器, 并将IoTSharp设置为调试模式。
docker stop iotsharp
生成解决方案
打开解决方案IoTSharp.sln
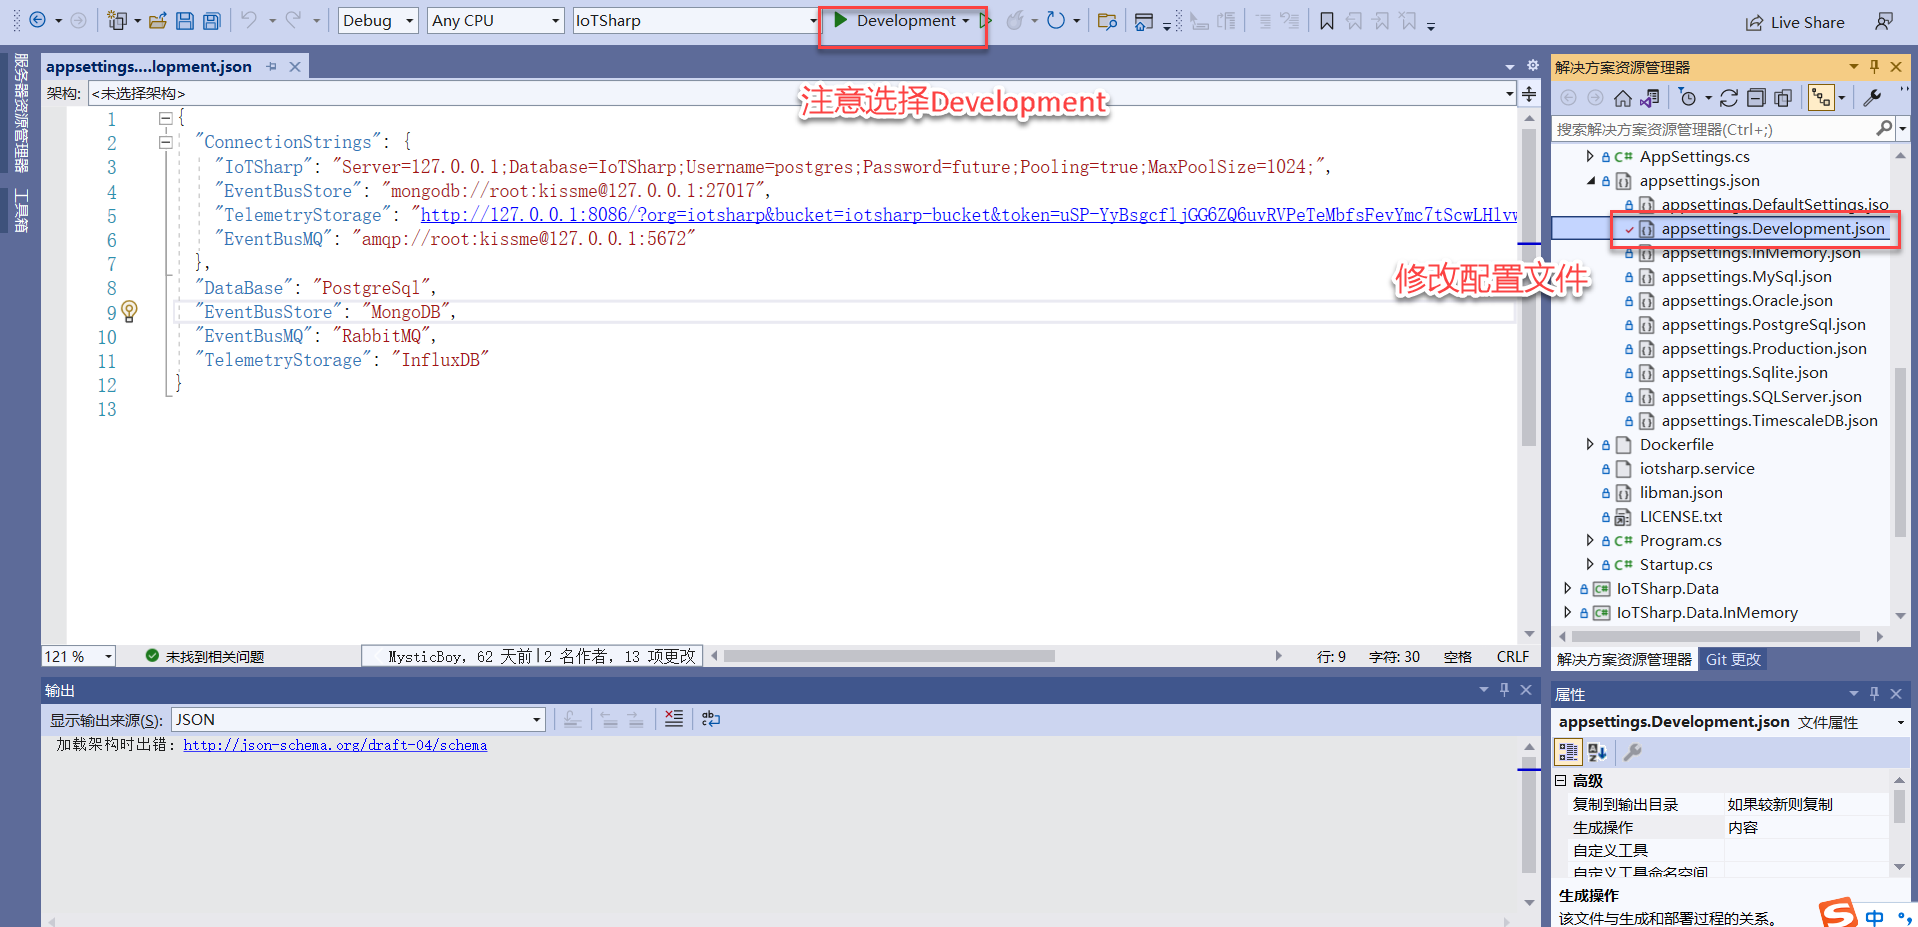
修改配置文件
/IoTSharp/IoTSharp/appsettings.Development.json
{
  "ConnectionStrings": {
    "IoTSharp": "Server=127.0.0.1;Database=IoTSharp;Username=postgres;Password=future;Pooling=true;MaxPoolSize=1024;",
    "EventBusStore": "mongodb://root:kissme@127.0.0.1:27017",
    "TelemetryStorage": "http://127.0.0.1:8086/?org=iotsharp&bucket=iotsharp-bucket&token=iotsharp-token&&latest=-72h",
    "EventBusMQ": "amqp://root:kissme@127.0.0.1:5672"
  },
  "DataBase": "PostgreSql",
  "EventBusStore": "MongoDB",
  "EventBusMQ": "RabbitMQ",
  "TelemetryStorage": "InfluxDB"
}
注意
一定要把influx的连接字符串中的iotsharp-token换成自己的token
源码启动
IoTSharp项目设为启动项目,运行

访问后台前端
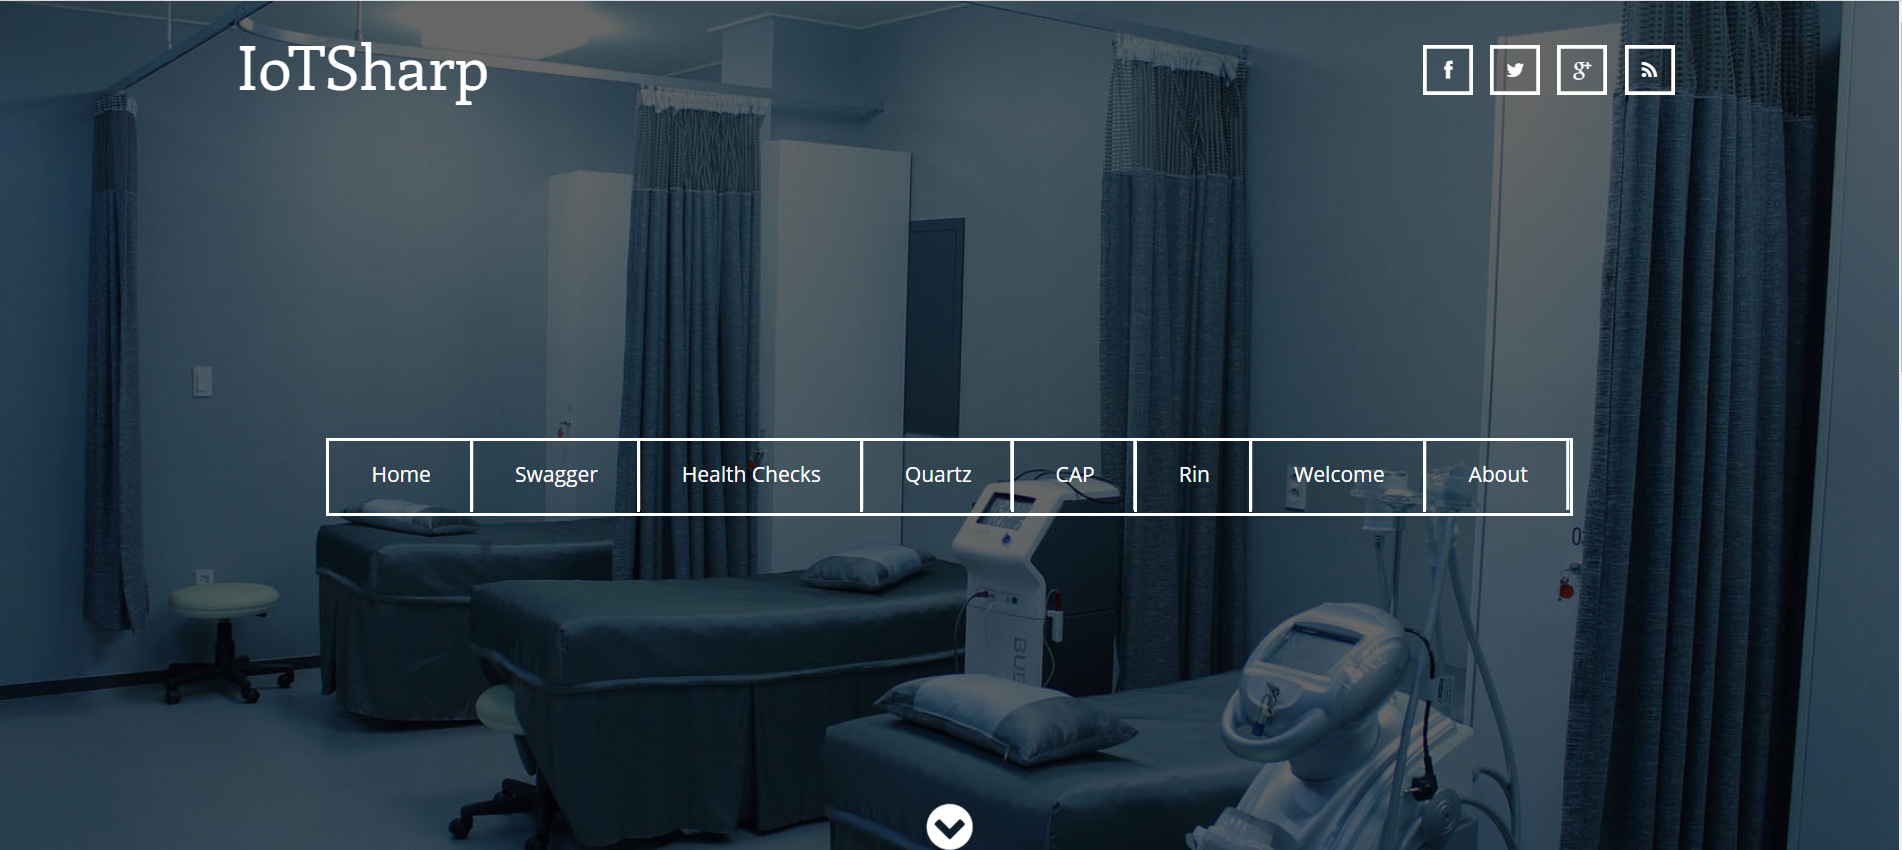
默认的后台部分页面访问地址默认的是 http://localhost:5000 ,会涉及到swagger 以及健康检查等页面

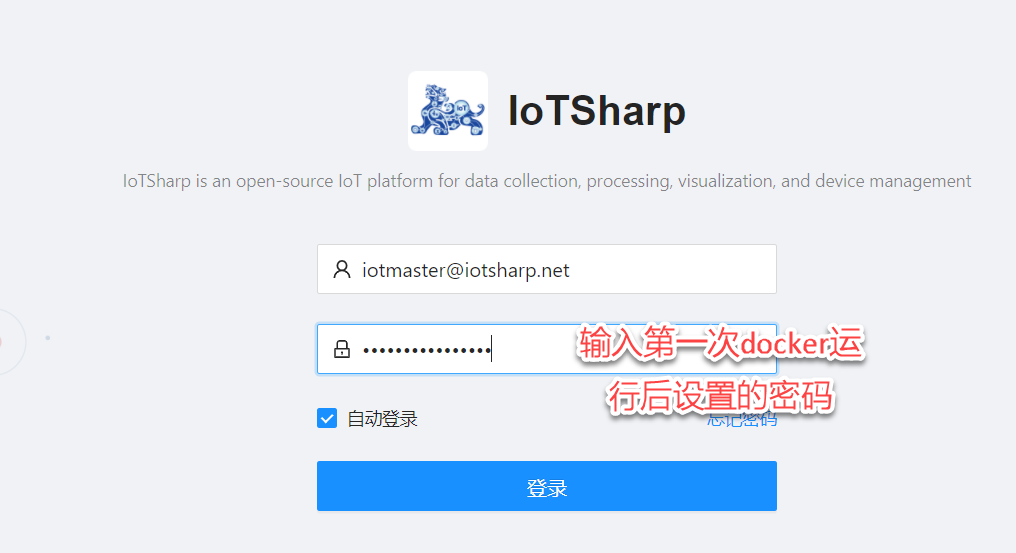
访问前端
前端会在项目启动后开始开始自动编译,浏览器会打开一个 等待页面, 此页面等待直到前端就绪, 然后会重定位到前端部分。 新的前端SPA采用.Net 6.0在中的新方法, 因此等待不会像之前那么久。
